Installation Guide

About Wabbajack and the list
Wabbajack allows you to install my modpack to your PC by duplicating my setup directly to your PC, including each mod, setting, output etc. If you want to better understand the general idea of Wabbajack, refer to a Reddit article What Wabbajack is and Why You Should Care.
I would very strongly recommend to check Introduction to learn more about the list and Frequently Asked Questions to get answers to the most popular questions asked about the list.
Warning: Reading this guide is required for the modlist to work as intended. It will not work correctly if you do not get acquainted and follow all the instructions.
Requirements
- The latest version of Windows 10 or 11;
- The Microsoft Visual C++ Redistributable - Visual Studio 2015, 2017, 2019, and 2022 X64;
- The latest version of Skyrim Special Edition - 1.6.640 with Anniversary Upgrade;
- A free Nexus Mods account, Premium is recommended.
Warning: The Anniversary Upgrade isn’t optional. Without it the modlist just won’t install for you.
Steam Setup
If you have successfully used any other official Wabbajack modlist for Skyrim Special Edition recently and if it uses Game Stock folder system, which allows us to leave Skyrim completely untouched and this way more compatible with other modpacks, then you don’t need to do the steps in this section and should continue with Anniversary Upgrade.
Steam Library Should Be Outside Windows Related Folders
The best location would be C:\Steam. Such location is also called the root of the drive. It can also be located in somewhere like C:\Games\Steam.
If you have your Steam library inside Windows related folder such as Desktop, Program Files, Downloads, Documents, OneDrive etc., use a guide from here to put it outside of one of these folders.
Start with Clean Skyrim
I highly recommend uninstalling the game through Steam, deleting the game folder and reinstalling it. You should also clean up the Skyrim Special Edition folder inside Documents/My Games/ by deleting the contents inside.
Set the Game’s Language to English
Right click on your The Elder Scrolls V: Skyrim Special Edition game, select Properties, navigate to the LANGUAGE tab and select English from the dropdown menu.
Change Game’s Update Behaviour
Head over to the Properties again, navigate to the UPDATES tab and change AUTOMATIC UPDATES parameter to Only update this game when I launch it.
Start Skyrim at Least Once
Start the game from Steam and and let it do the initial graphics check. Do not worry about this part as the installation will replace this graphics settings. Start the game and exit once you’re in the main menu.
Anniversary Upgrade
If you have successfully used Anniversary Update’s Creation Club’s (CC) mods for Skyrim Special Edition recently by yourself or by using any other official Wabbajack modlist, then you don’t need to follow the next steps in this section and must continue with Installation.
- If you haven’t done that already, buy Anniversary Upgrade and make sure that Steam installed it.
- If you don’t have a Bethesda account, make it at Bethesda.net.
- Launch Skyrim through Steam.
- Click the Play button.
- Choose Creation Club option.
- Login with your Bethesda.net credentials.
- Click the Download All button.
- Wait for Skyrim to finish.
Installation
If you haven’t installed Wabbajack yet, grab its latest release from here, make a folder inside the root of the drive like C:\Wabbajack and place the Wabbajack.exe file inside it. This folder must not be in the Windows related folders (Desktop, Program Files, Downloads, Documents, OneDrive etc.).
The downloading and installation process can take a very long time, it depends on your system’s specifications, your internet’s speed and if you have Nexus Premium membership.
It will be way faster if you have one big mod folder for all modlists to make the installation process faster and not to make you download the mods once again if you have them already.
- Open Wabbajack.exe.
- Click on Browse Modlists and download The Phoenix Flavour - Dragon’s Edition from the gallery.
- Once the download is done, set the installation location again somewhere outside Windows related folders like C:\Skyrim SE Modlists\TPF DE or C:\TPF DE.
- Point Wabbajack towards your download location. If you haven’t downloaded any mods before, make a folder like D:\Skyrim SE Mods or D:\Skyrim\Mods and then point Wabbajack to it.
- Click the Play button.
- Wait for Wabbajack to finish.
Problems with Wabbajack
Sometimes Wabbajack can fail your installation for different reasons. At first, I recommend rerunning Wabbajack. Wabbajack will continue, where it left off, so you won’t need to reinstall anything.
Unable to download Skyrim files
Close Wabbajack. Verify the integrity of your game files through Steam by following these instructions. Then rerun Wabbajack.
Unable to download mods
Some mods, which are not hosted on Nexus, or big sized mods tend to fail from time to time. Close Wabbajack and then just download them manually and put in your downloads folder, after that rerun Wabbajack. Usually those are:
There can be other files, which unfortunately can’t be got in the same way. Try ticking the Network Workaround option in Wabbajack’s settings, accessed by clicking on the gear symbol in the top right. If that does not resolve the issue, try using a VPN service. If the above does not work, try setting your download threads to 1 in the same settings of Wabbajack and try again. If it still doesn’t work, you may need to wait a bit as that can mean there is a big amount of users trying to download the same things.
If you still have problems with Wabbajack, ask for help in TPF Discord server‘s #tpf-de-wabbajack-support channel.
To get to the channel, simply find #role-settings channel in the server and choose my role, new channels then will appear in the server’s list.
You will need to upload your log file to the corresponding channel for me and others to better understand the problem. You can find the relevant file (Wabbajack.current.log) inside the logs folder within the latest version folder - this will be in the same location you saved Wabbajack.exe to.
Configurations
Now open the folder, where you have saved the modpack, and double-click on ModOrganizer.exe file. You can see the full setup - the mod order is on the left, sorted below separators that may be collapsed by default, and the load order with all plugins on the right.
By default your game is capped at 60 FPS (to avoid any issues related to Skyrim’s physics) and is borderless. Your resolution was automatically detected and changed by Wabbajack.
If you want to uncap your framerate (that is on you), do the following:
- Press on ESSENTIAL MODS separator.
- Double click on SSE Display Tweaks mod.
- Choose INI files tab.
- Press on SKSE\Plugins\SSEDisplayTweaks.ini.
- In line 204, change FramerateLimit parameter to your desired framerate after = sign.
- Press on Save button or use
Ctrl+Sshortcut.
If you want to downscale your resolution, do the following:
- Press on ESSENTIAL MODS separator.
- Double click on SSE Display Tweaks mod.
- Choose INI files tab.
- Press on SKSE\Plugins\SSEDisplayTweaks.ini.
- In line 58, change BorderlessUpscale parameter to
True. - In line 66, remove # sign before Resolution parameter and then write down your monitor’s native resolution after = sign.
- An optional step for those, who seek even more performance: In line 67, remove # sign before ResolutionScale parameter and then write down your desired resolution scale after = sign.
I would recommend to try 0.9 at first as resolution scale below 0.9 can look a bit too blurry depending on your resolution.
- Press on Save button or use
Ctrl+Sshortcut.
If you want to change your field of view (FOV), do the following:
- Press on ESSENTIAL MODS separator.
- Double click on Autorun mod.
- Choose Text files tab.
- Make a new line in the document.
- Add
fov XXto the line without any additional spaces. - Change XX to your desired field of view.
- Press on Save button or use
Ctrl+Sshortcut.
Some of the mods inside Mod Organizer are disabled by default in the modpack. Some of these are:
- xLODGen Resource - SSE Terrain Tamriel, because it is needed to be activated only when I generate terrain LODs.
- Blade and Bunt - Vanilla Difficulty Modifiers under TPF’s DIFFICULTY MODIFIERS separator, because it makes the game easier and less interesting. If you find the combat of the game too difficult even after tweaking the game’s difficulty, you are free to enable the mod by clicking on a rectangle right next to its name on the left side of MO2, but then you will also need to put its plugin right next after Blade and Blunt’s plugin BladeandBlunt.esp on the right side of MO2 by simply dragging it.
Here are also two already enabled modifiers for our dragon overhauling mod Dragon War, which greatly improves dragons by actually making them to be treated with cautiousness. In the original mod dragons have too much health, so it becomes a little bit too annoying to fight them and that’s where these patches come handy nerfing their health and just a bit - their damage. If you want much longer fights with dragons, feel free to disable these two.
- All the mods under WIDESCREEN SUPPORT separator, because obviously only a few have those huge monitors. If you are actually one of them, enable the mods under this section and you are done.
Finally we are ready to open and finish configuring the game. Above the load order (in the right pane), you can see the executables drop-down. Very likely The Phoenix Flavour - Dragon’s Edition was already selected here, so you can start the game by clicking Run.
In-Game Adjustments
And now we are ready to jump into the game.
There are some character presets available for your walkthrough. To use them, choose Presets option in the top right side of the character creation menu,
then press F9 button to load available presets and then choose the desired one according to the race and the gender you have chosen for the character.
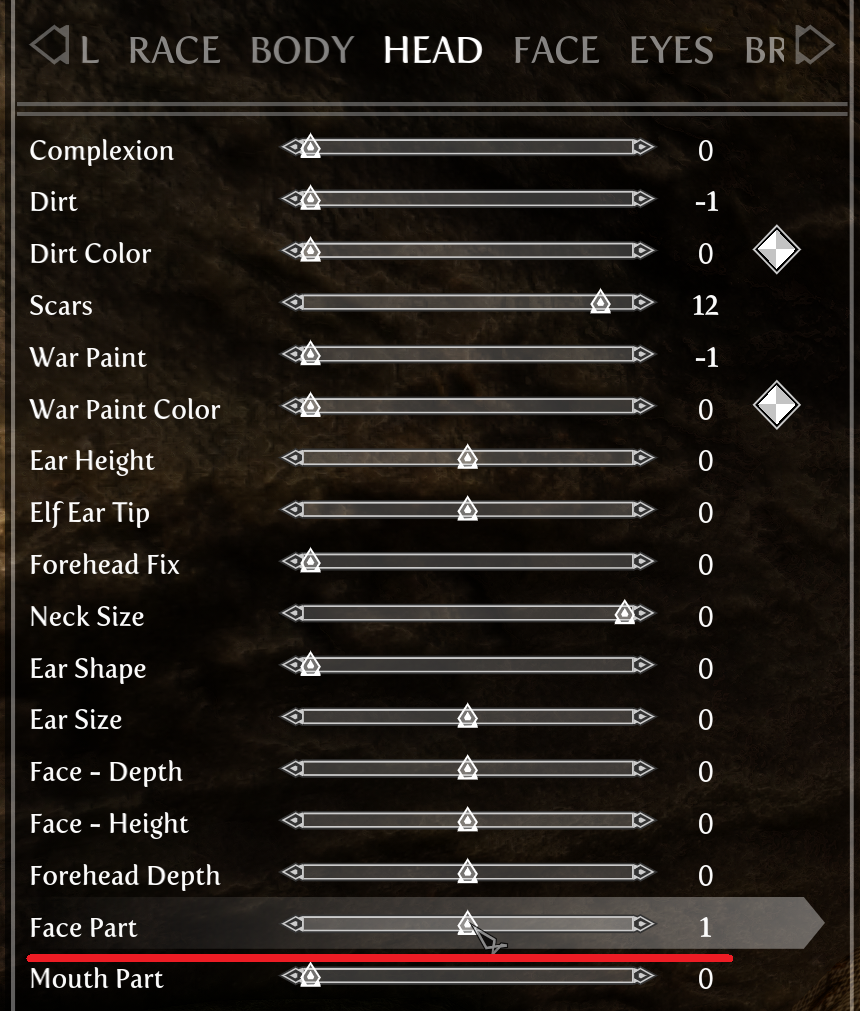
If you want to make your character on your own, at first we need to activate our character’s high poly head (much more detailed head than the vanilla one, which you can also shape in much more ways) in character creation menu and then our hair, brows (and/or scars, beard) will look excellent on us.
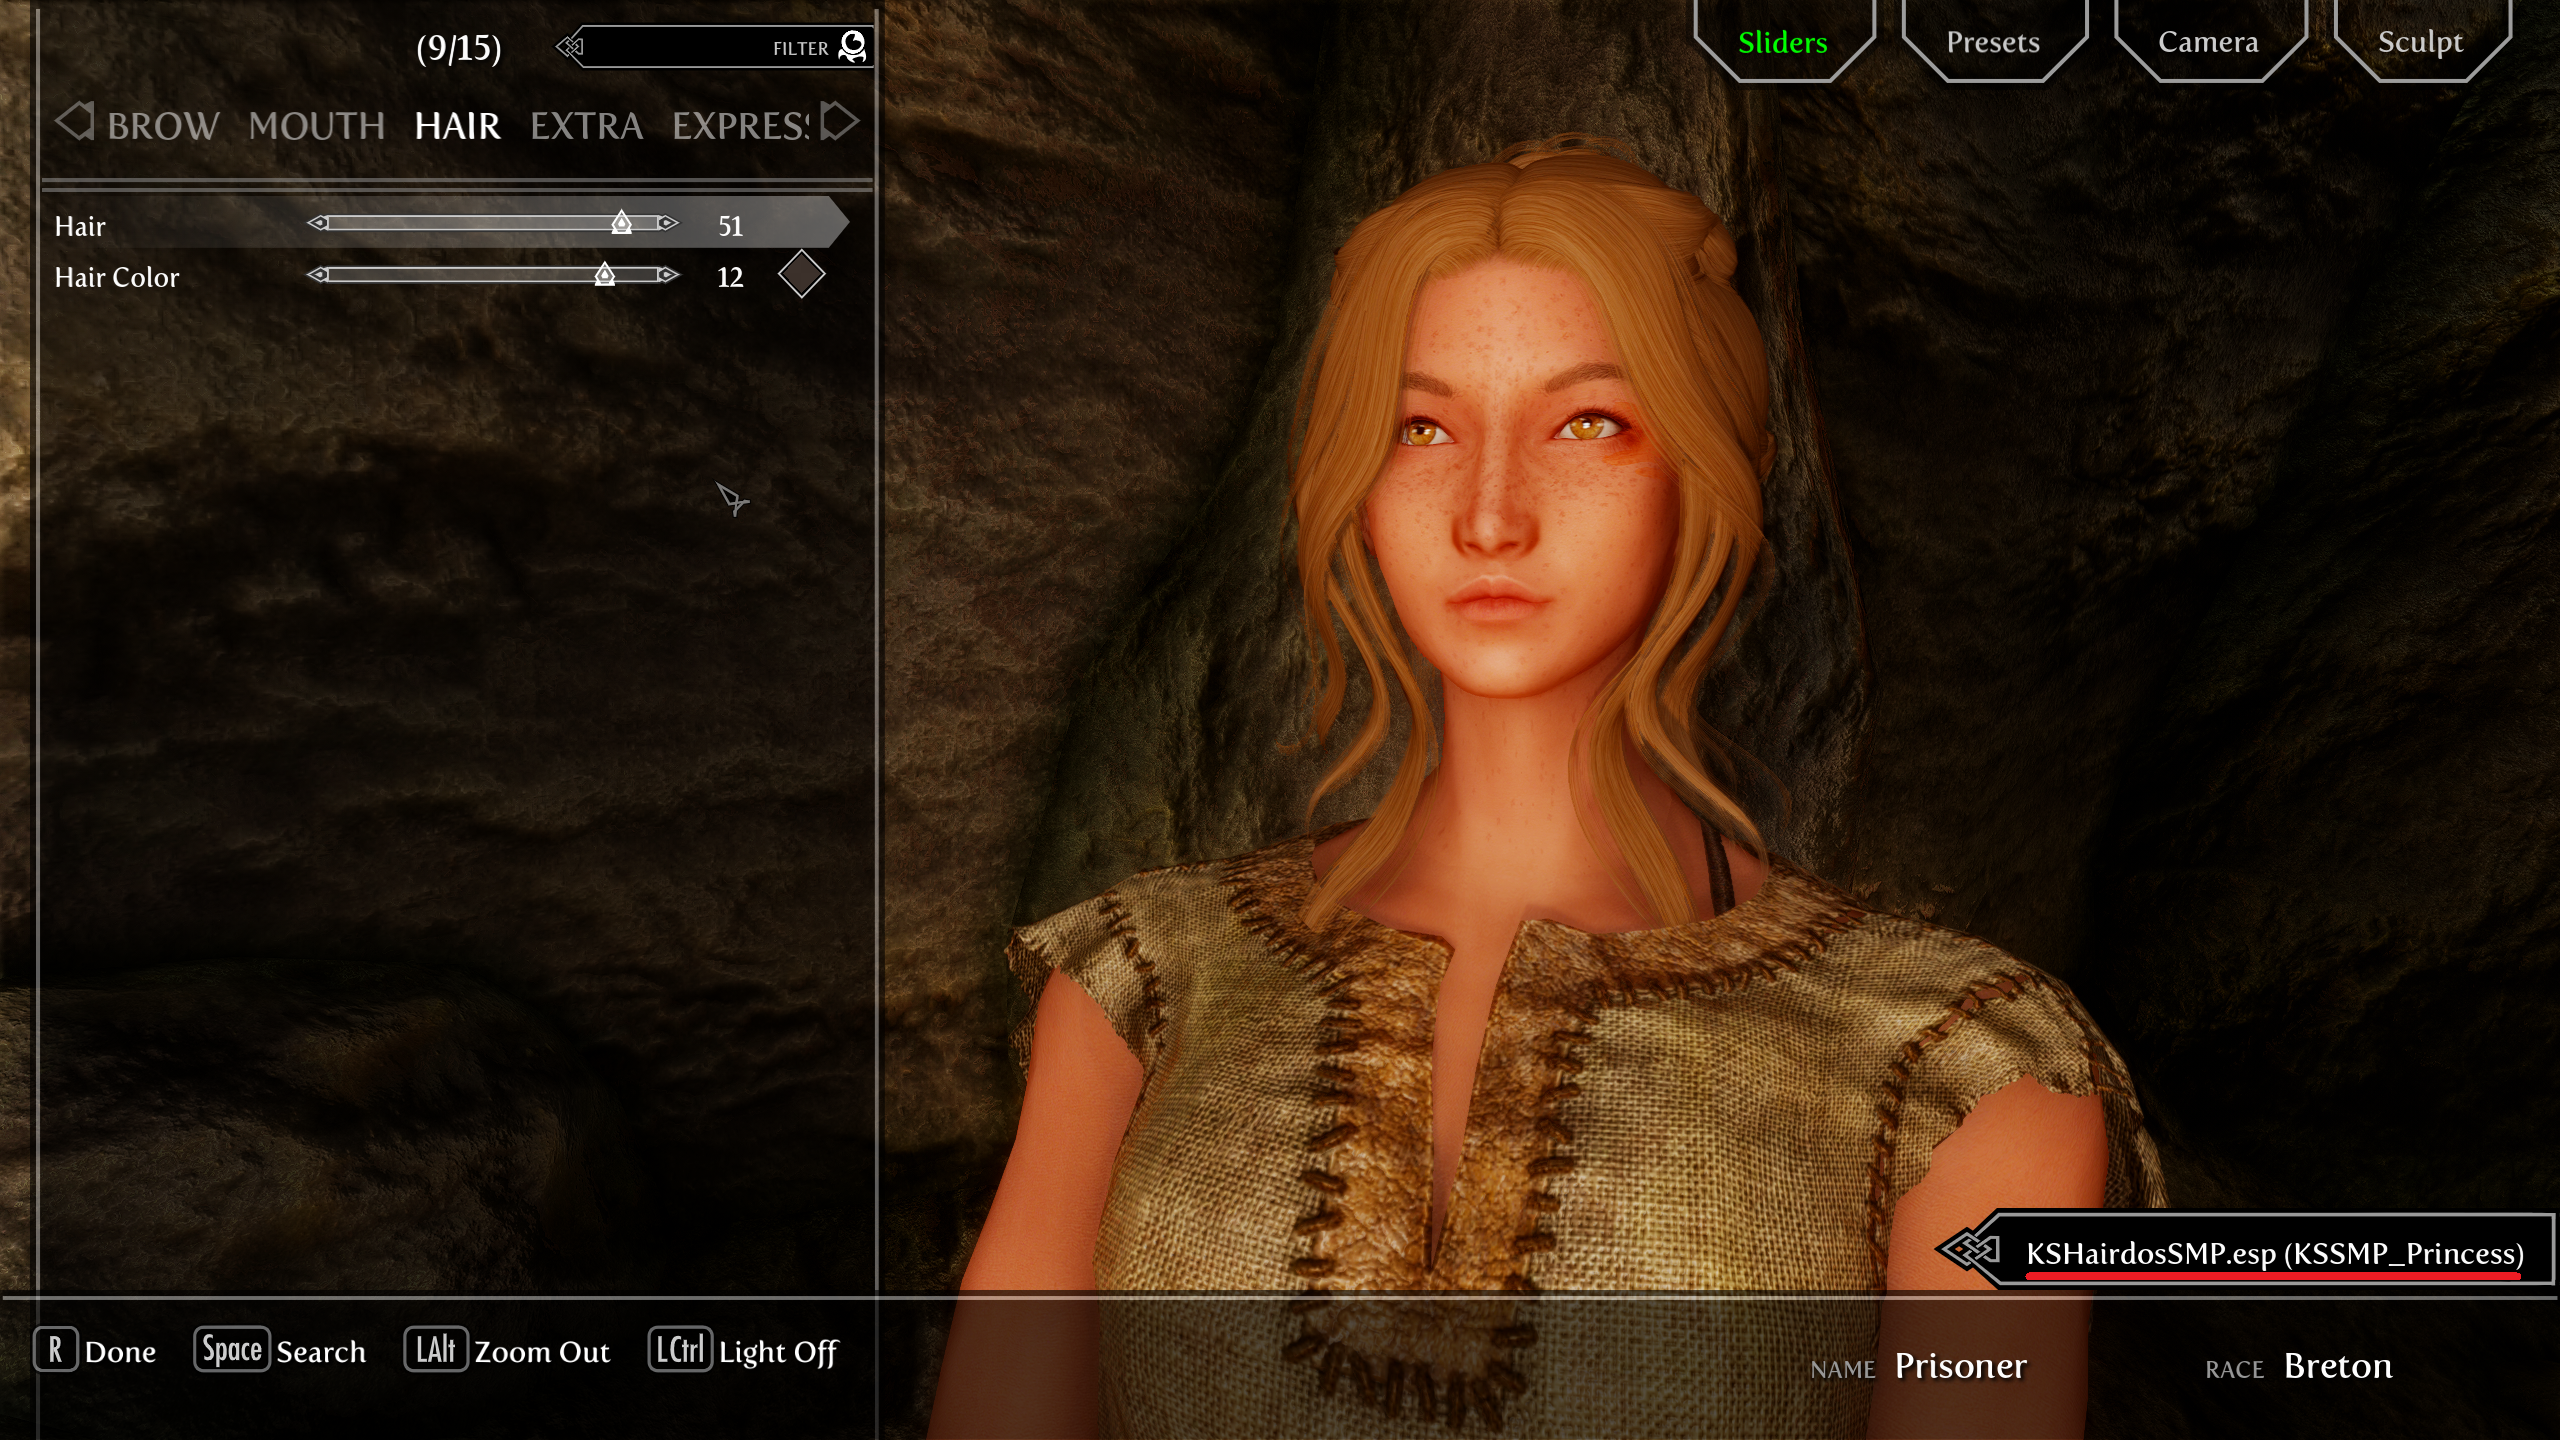
Then customize your character to your heart’s content (while being reasonable). Hair with physics for women are obtainable by choosing hair with KSHairdosSMP.esp near their name.
If you want to use hair with physics for men, you will find instructions on how to get them a bit later. For better results with those, equip bald hair style now.
After you get control over movements of your character, don’t go anywhere right away. It will be awesome if you wait for a pop-up about finishing things setting up to appear before doing anything else.
Then after talking with Ralof or Hadvar another pop-up will appear, which allows to allocate 35 skill points to whatever skill trees your character is going to use during their adventure (5 points per step, max 10 points in one tree). When you have chosen a tree, which you would like to put your points into by pressing Enter or just clicking on it, then press Tab to continue allocating points. After spending all the points, you will see that COMPLETE option is chosen by default, so just press Tab button once again to finish the allocation. Next you will be able to allocate 60 points for your base health, magicka and stamina in the same manner (10 points per step, max 130 points for one attribute).
Now you can turn on the following mods to decide if you would want to use them. They affect just the visual side of the game. If you aren’t a fan, just press the same button once again to turn them off.
- Look What You See - Press your
Vkey to toggle headtracking in the third person view. - Improved Camera - Use your
Fkey to toggle between the first and the third person view. - Toggle Compass Hotkey - Tap
Xkey to toggle visibility of your compass. - Equipment Toggle - Press
Arrow Downbutton to toggle your headgear’s visibility.
Some quick tips before the end:
- About the option to remove your tail - It is weird, but you will actually need to equip another tail to get rid from… them both. To get the tail, open your inventory and in misc item section find an item called AddItemMenu and click on it. Another menu with 4 items will pop up. Grab an item with a search option. Then open your inventory and use the item with the search option. Type
tailin AddItemMenu’s searcher. Choose the mod’s plugin and grab your tail. Then equip it like gear and your tail will be gone. - About hair with physics for men - You will need to use AddItemMenu again, but this time type the word
hair. - About ENB -
F10button toggles the ENB effect,F11opens the ENB GUI,F7toggles an FPS counter. Feel free to make screenshots with Steam by usingF12.
If the ENB isn’t for you and you want to change it, delete modpack’s enbseries folder and enbseries.ini file from the fork’s Stock Game folder first. You do not need to replace enblocal.ini.
- About friendly fire - You will do no damage to neutral and friendly NPCs by default. Press
O(letter) to toggle friendly fire. If you disable friendly fire, allies will still tolerate you if you hit them, but mainly during combat. - About fast travelling - By default fast travel is disabled, because it becomes much more interesting that way (you travel and discover much more) and there are plenty of ways to travel around - as in vanilla (horses, carriages, boats), paragliding, spells and another mean, which is tied to a quest (don’t want to spoil that). If you still aren’t sold, feel free to reenable it by disabling Disable Fast Travel SKSE - No Janky Map UI mod under the INTERFACE EXTENDED separator.
Warning: Very important information!
Note in the Bannered Mare can be activated only after 5 in-game days after you have finished the main quest Unbound.
Also a reminder that the modlist uses a mod called End Times, which will end the game if don’t finish the main quest line in 14 real life days, that means 336 real life hours. That should be enough to do many other things in between saving the world for the first time. And don’t worry - the game won’t end if you finish the main quest. You can always enter into MCM again to see how much time you have left. Be sure to remember.
Thank You
And that’s it! You are ready for the action.
If you have any questions, something else doesn’t allow you to finish the setup or if you just find a typo or any other mistake in the documentation, feel free to report in TPF Discord server‘s #tpf-de-wabbajack-support channel. If you would like to make any recommendations after looking into what the modlist has to offer or to give me an advice, please use #tpf-de-feedback channel.
To get to these support channels, simply find #role-settings channel in the server and tick my role, new channels then will appear in the server’s list.
If you want to learn more about what the modpack offers and what actually many of the mods do, check Gameplay Guide.
Before asking additional questions be sure to check the gameplay guide mentioned before and Frequently Asked Questions.
If you have experienced a bug during your walkthrough, jump in Reporting Bugs section first to learn how to report it properly.
If you want to help me, don’t forget to endorse the fork’s page on Nexus, share some beautiful screenshots from the list and write something positive for me to read in Discord. If you are able and want to help even more, you can donate by pressing the button right below. On Ko-fi I also tend to tease big upcoming updates from time to time.

Posts regarding updates for the modlist will be available in both TPF’s and Wabbajack’s Discord servers and, of course, in Changelog.