Installation
Requirements
- Skyrim Special Edition on Steam, including the AE DLC.
- Skyrim Special Edition: Creation Kit on Steam.
- Latest version of Windows 10 (required by Wabbajack).
- At least a free Nexus Mods account, Premium is recommended.
- Latest drivers for your GPU (NVIDIA or AMD).
Disk Space
The full setup, including a copy of the vanilla game in the Stock Game folder, clocks in at around ~77GB with an additional ~58GBs of downloads. It is recommended to install any mod setup on an SSD for improved performance and faster loading times.
MO2 Prerequisites
Mod Organizer 2 requires the Microsoft Visual C++ Redistributable and .NET Framework 4.8, two basic packages. Chances are you already have them installed, but please grab the two installers linked below and run them. If the packages are already present on your system, the installers should notify you.
- Download and install Visual C++ 2019.
- Download and install .NET Framework 4.8.
If either of them were missing on your system, they will be installed now. Afterwards, you may be required to restart your PC.
Synthesis Prequisities
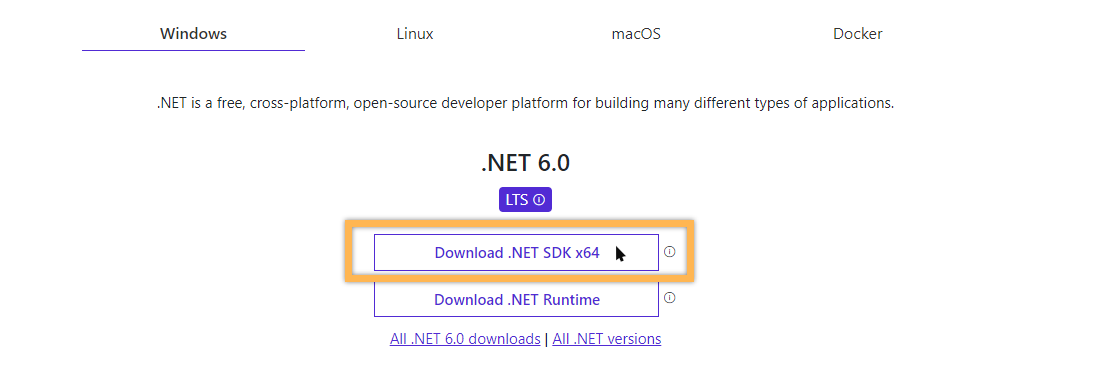
The patcher tool Synthesis requires the .NET 6.0 SDK. You can skip this if you do not intend to use Synthesis.
- Download the .NET 6.0 SDK from the official website.
- Follow the instructions in the installer and restart your computer when prompted.
Skyrim SE Setup
Aurora requires the latest version of Skyrim SE. For clarification, this latest version is a post-AE release (currently 1.6.640.0) and unrelated to the Anniversary Edition DLC which is NOT required. If you are on any older version of Skyrim SE, please verify files through Steam to install the update. You can check the version by right-clicking the SkyrimSE.exe in your game folder and going to the Details tab.
Please make sure to launch the game at least once before running Wabbajack. If you just updated or (re)installed the game, this is necessary for setting up registry keys as modding tools will otherwise be unable to recognise the game. You can quit from the main menu. If you own any creations beyond the four free ones, they will be downloaded as well.
Set language to English
Aurora requires the English language version of Skyrim SE.
If you are currently playing in a language other than English, please go into the settings for Skyrim SE in your Steam library and revert the language to English. After changing the language, Steam should automatically download the required files (launch the game to force the download if it doesn’t).
After updating the game language, please launch the game once and quit from the main menu.
This requirement is necessary for Wabbajack. You can change the language after installing Aurora, but remember to also update your Game Root folder if you do and that various mods will require translations for consistency.
Creation Kit
In order for Wabbajack to be able to incorporate the Creation Kit properly, you need to install it first through Steam.
- Find the Creation Kit Steam page (I recommend just using the search function in the Store).
- Click install. Select the Steam Library (hard drive) where Skyrim SE is located as well.
- The files will be placed into your default game folder.
This step is mandatory. Not having the CK installed or having the wrong version accounts for most failed installations reported on Discord.
Wabbajack Installation
Next up you need to install the Wabbajack tool itself:
- Download Wabbajack from the official website.
- Extract the archive to a high-level folder, e.g.
C:\Wabbajack\.
Do not install Wabbajack into UAC protected directories. These include Program Files and Program Files x86 as well as the Downloads, Desktop, Documents, etc, folders.
Double-click Wabbajack.exe to launch to tool. It will automatically update itself to the latest version.
Aurora
You can now install SME through Wabbajack:
- Click the Browse Modlists button in the Wabbajack tool.
- Find Aurora in the gallery of mod lists and click the arrow button to download the installation file.
In the installation window, you will need to define two folders:
Installation Location is where Aurora will be installed to. Choose a high-level folder such as C:\Aurora\ that is outside UAC protected folders (Program Files, Documents, etc).
Download Location is where the downloaded mod archives will be stored. By default, they will be placed within your main Aurora folder, but you can change the file path if you want to keep the files elsewhere.
Once both folder locations have been set, click the button on the right to begin the installation process.
Installation Process
If you have Nexus Premium, this is all you have to do. Lean back and relax while Wabbajack downloads and installs Aurora for you.
If you only have a free Nexus account, Wabbajack will open the mod pages for you and guide you through the process of downloading all files. Afterwards, it will proceed with the installation as usual.
You can follow along as Wabbajack installs the list. It will display previews with summaries and links to the mods being installed. Don’t let the log irritate you. Unless the installation is aborted completely, you don’t have to worry about any warnings.
In case the installation does fail: Try restarting Wabbajack first. You will not lose progress as the tool will pick up where it left off. Should the installation fail again, please join us on Discord, grab the @Aurora role, create a post in the #aurora-forum, and share your wabbajack.current.log. You can find all Wabbajack logs in your Wabbajack installation folder under \Wabbajack\<version number>\logs\.
In most cases the installation should complete successfully on the first try. The tool will let you know when it has.
Tool Setup
Almost all tools included with Aurora are automatically configured for you. However, there are exceptions as some tools cannot be shipped with custom profiles so you will have to create them for yourself. If you want to build your own setup off of Aurora, please refer to the Tool Setup section in the SME documentation for further instructions.