Mod Organizer 2
Summary
This module covers the installation and basic configuration of Mod Organizer 2.
Prerequisite(s): Clean Install
Prerequisites
Mod Organizer 2 has two prerequisites.
While you may already have them install, I recommend (re)installing them to be sure:
- Download .NET Framework 4.8 and follow the instructions in the installer.
- Download the Microsoft Visual C++ Redistributable and follow the instructions in the installer.
To finalise the installation you may be required to restart your PC.
Downloading MO2
Mod Organizer 2 is hosted on the Nexus and on Github.
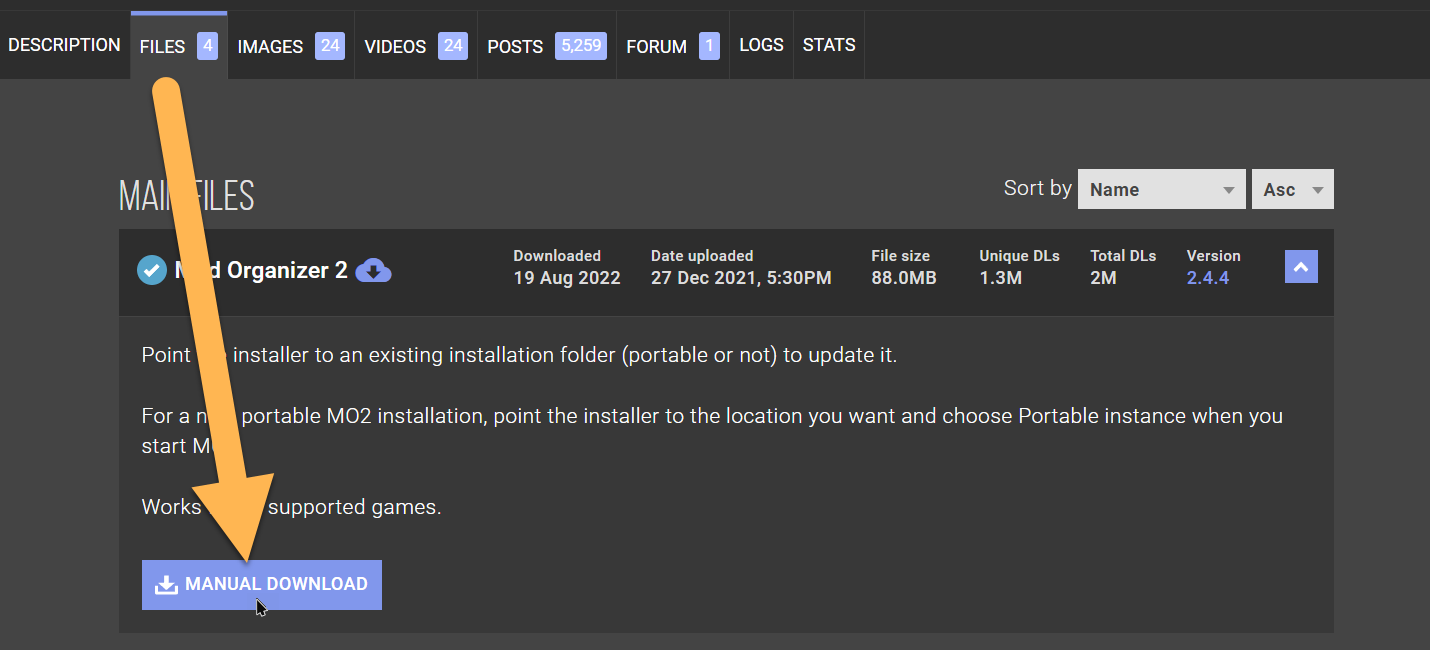
- Open the Mod Organizer 2 Nexus page.
- Switch to the Files tab.
- Click the Manual Download button for Mod Organizer 2 under Main Files.
If you do not have Nexus Premium, you will need to click Download again on the next page after a brief countdown.
Installing MO2
Save the downloaded executable to a convenient location and double-click it.
If there is a Windows warning, click More Info and Run anyway.
Installer Configuration
In the MO2 installer, accept the license agreement and proceed to the next page.
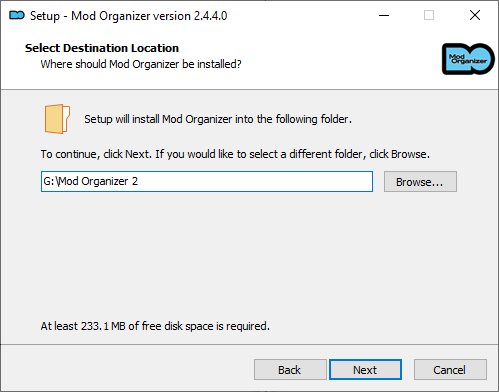
You will be asked where to install Mod Organizer 2.
- Once again, selecting an SSD or NVME is highly recommended as it will improve load times and in-game performance.
- The MO2 folder will contain all your mods which may add up to 100GB and more.
For now, make sure you have at least 50GB of free space on whichever hard drive you choose. That will be sufficient to get started.
For the rest of the installer, you can simply keep clicking Next to install the tool with all components into your chosen directory.
Click Finish once all files have been extracted. Mod Organizer 2 will be launched automatically so you can proceed with the next step.
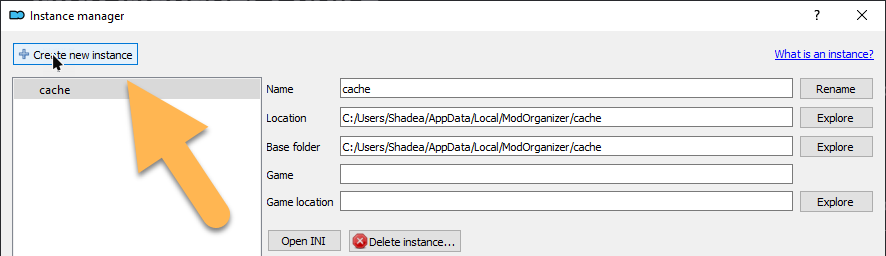
Instance Setup
After the initial installation process, the Instance Manager will open where we will create a new portable instance. These are self-contained and allow you to run as many copies of Mod Organizer 2 as you like, for various games or different setups.
(I personally run five or more instances at any given time, for both Skyrim SE and Fallout 4, none of which interfere with each other.)
Click the Create new instance button to proceed.
- Click Next in the configuration window.
- Select Create a portable instance on the next page.
- On the next page in the configuration wizard, select Skyrim Special Edition.
- Click Next again on the following page to confirm using your MO2 installation folder for all sub directories.
- Click Connect to Nexus* and switch to the browser to authorise MO2 to connect your account.
- In the MO2 installer, you should see: Linked with Nexus successfully.
- Proceed to the next step and click Finish to finalise your new MO2 instance.
**If you are not prompted to connect MO2 to the Nexus, you have likely already done this for a previous MO2 installation.*
First Launch
Mod Organizer 2 should launch automatically.
- Click No when asked to see the tutorial.
- We will go over the various parts of MO2 in this guide.
- If asked whether MO2 should handle NXM links, click Yes.
- This allows automatic downloads from the Nexus through MO2.
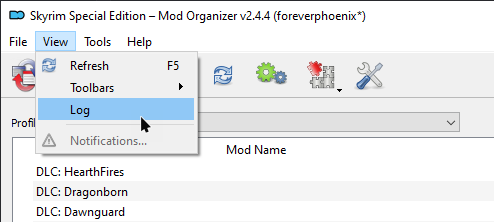
Before we do anything else, let’s disable the log at the bottom. We are not going to need it.
I also recommend right-clicking the MO2 icon on your taskbar and pinning it for quick access.
MO2 Settings
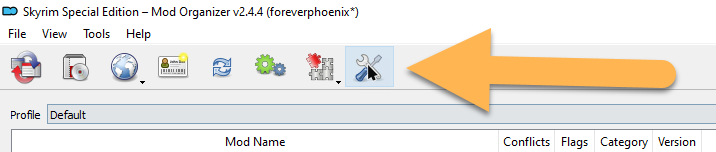
Open the Settings by clicking the first icon on the right in the toolbar.
Settings: General
Under Download List, I highly recommend checking Show meta information and Compact list. This will affect the Downloads tab in the right pane of MO2 where all downloaded files will appear. As the list grows, a more compact view with information about the file version and type will become invaluable.
Check out the default settings versus the compact settings.
I personally do not use the Hide downloads after installation option. Of course, the list of downloads in my MO2 setups is hundreds of files long, and yes, hiding files after installing them would keep the downloads tab clean. All hidden mods can quickly be made visible again by ticking the Hidden files box at the bottom of the Downloads tab, and individual files can be hidden and unhidden at will. Personally, I prefer the simplicity of simply leaving everything visible and using the search bar to find what I am looking for. Once you start installing mods, you should make your own choice.
Settings: Themes
While I personally prefer light mode in the majority of my apps and programs, I realise that my opinion is rather unpopular. Under Style, you can try out various other themes. If you are looking for a simple dark theme, I recommend the 1809 Dark Mode option for now. It is similar to the default light theme and will make following along with my screenshots easier.
Make sure to restart MO2 after changing the theme.
The Colors section below affects the colors in which mods and separators will light up when highlighting them. I strongly suggest not tampering with them until you have a proper understanding of mod order and asset conflicts.
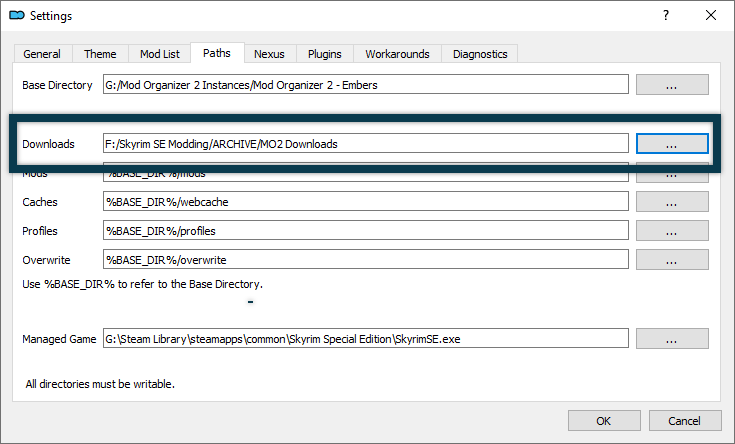
Settings: Paths
Since we set up MO2 as a portable instance, all file paths to the various directories are currently within the MO2 installation itself: /%BASE_DIR%/, the base directory. We already discussed the potential size of the mods folder, which can easily exceed 50GB, but should nevertheless be located on a fast drive, ideally an SSD.
However, the downloaded archives from which the mods are installed do NOT need to be on an SSD. They are only required for the initial installation and merely serve as backups afterwards.
Keeping the archives is nevertheless recommended as you may want to reinstall a mod later on to choose different options if they come with an installer, or simply to restore it to the vanilla state if you modified it. Hence, I recommend changing the Downloads directory to a different drive. Pick the hard drive with the most amount of space; any HDD will do.*
**It should be noted that keeping downloaded archives on a faster drive may speed up mod installation, including for Wabbajack list. Nevertheless, SSD / NVME space is precious and I personally prefer to use it for more mods or other games.*
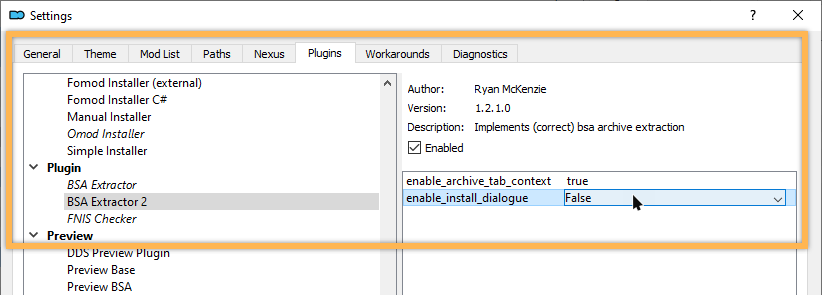
BSA Extractor 2
Some of MO2’s extra functionality is implemented via pre-installed plugins. Unfortunately, the default BSA extraction plugin may currently corrupt textures when used to extract BSAs, so I recommend installing a fixed version.
- Close Mod Organizer 2 (always do this before installing plugins).
- Download BSA Extractor 2 from the Nexus page.
- Extract the plugins folder to
\Mod Organizer 2\(the MO2 root folder). - Confirm to merge with existing plugins folder.
Configuration
By default, BSA Extractor 2 will ask about unpacking the archive every time you install a mod that contains a BSA. This can be disabled (and I recommend doing so).
- Restart Mod Organizer 2 and go into the settings.
- Switch to the Plugins tab and select BSA Extractor 2 near the bottom of the list.
- Double-click enable_install_dialogue and set it to False.
New Profile
One of MO2’s many lovely features is the ability to create an indefinite amount of self-contained profiles.
Every profile has its own:
- Load order
- Mod Order
- Saves (optional)
- INI Files (optional)
Create New Profile
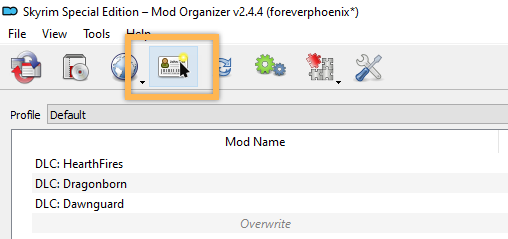
Open the MO2 profiles settings by clicking the ID card icon in the Toolbar.
Click the Create button and enter a name for your profile.
I recommend naming your profile after the central mod or theme of the modlist you intend to build, like Legacy of the Dragonborn, SimonRim, or Survival. There is also nothing stopping you from simply calling it Modded as opposed to the unmodded Default profile.
Whether you check the Default Game INI Settings is really up to you. I recommend leaving the option enabled and running BethINI later on to modify your INIs.
- Click OK to create your new profile.
- I recommend enabling the Use profile-specific Save Games option at the bottom (while having your new profile selected).
- Click Select to quickly switch to your new profile.
Interface Adjustments
Below are my personal adjustments to the Mod Organizer 2 interface. Take them as suggestions (or ignore them).
The Right Pane
The right pane of Mod Organizer 2 features a number of tabs, none of which require much space to properly display. I typically reduce it take up about a fourth of the entire interface, dragging around the columns in the Plugins tab so that all options are comfortably displayed without wasting too much space on the Mod Index column.
The Left Pane
The left pane of Mod Organizer 2 displays the mod order.
Clicking on the sorting columns above the mod order, you will see a number of options.
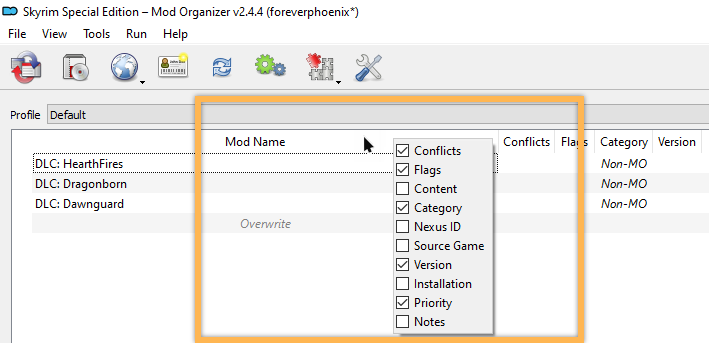
- ✔️Conflicts: Displays little icons to show overwrites.
- ✔️Flags: Not necessary, but recommended. Shows if notes are appended to a mod.*
- ✔️Content: Very helpful because it shows you which types of assets are contained in a mod.
- ❌Category: Uses Nexus categories by default. Separators are better for sorting.**
- ❌Nexus ID: The ID of the respective mod (which is the combination of numbers at the end of its URL).
- ✔️Source Game: Useful when mixing Skyrim LE and Skyrim SE mods which is not very common anymore.
- ✔️Version: Helpful for tracking updates.
- ❌Installation: Displays the date of installation. Not sure what you would need this for.
- ✔️Priority: Shows the position in the mod order. Does not hurt to leave on.
- ✔️Notes: See short notes at a glance. (AKA my favourite thing about MO2.)
**There are also flags to remind you of endorsing mods and to show the tracking status. The tracking feature never worked properly for me and the only mods I have not endorsed are my own, so I typically disable both Endorsement Integration and Tracking Integration in the MO2 settings (Nexus tab). Disable these features or leave them active, it is up to you.*
***You can also create a set of custom categories (instructions forthcoming).*
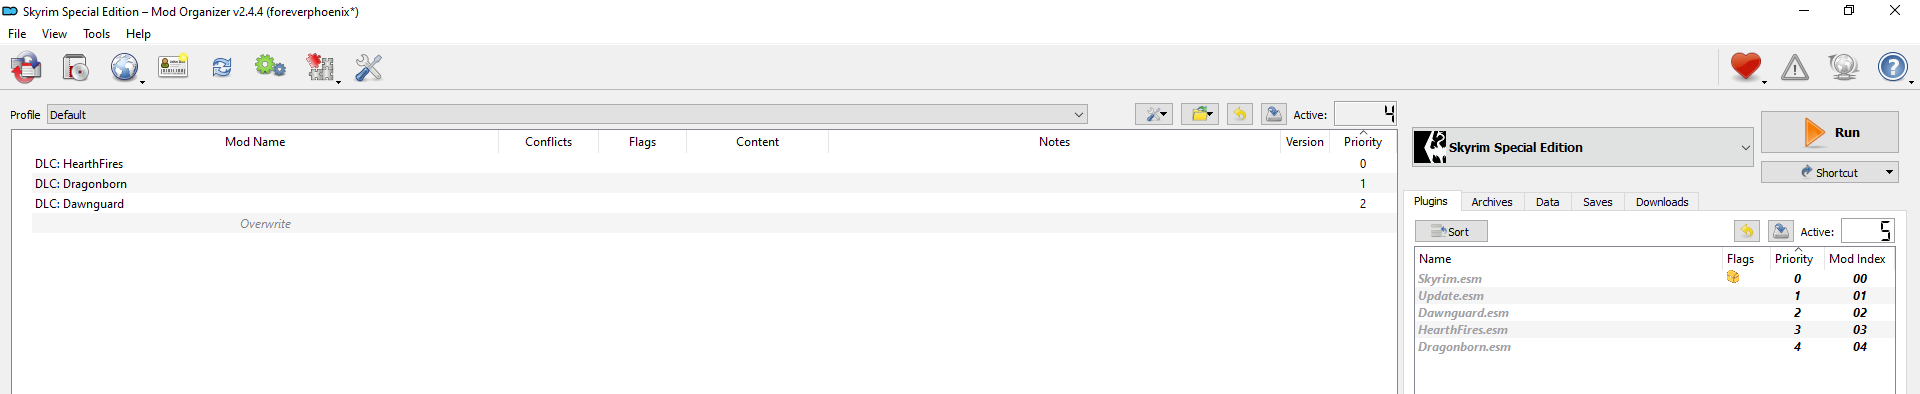
My MO2 Layout
After some re-arranging of columns and ratios, this is what my MO2 instance (on a 1080p monitor) looks like:
(Click here to view the picture in full size.)